As you know, Autoptimize can optimize your images in addition to regular website optimization. In case you are wondering, you can start using both Autoptimize’s Image Optimization with our plugin ShortPixel Image Optimizer (SPIO) easily; SPIO will locally compress your images while Autoptimize will serve them from our CDN.
How-to #
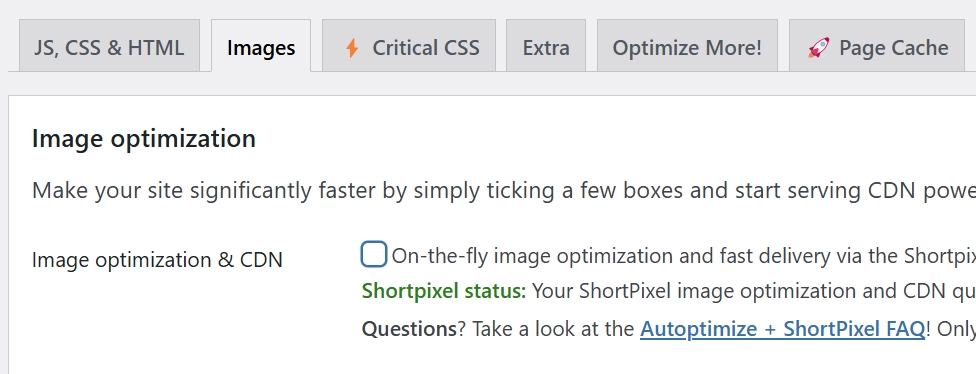
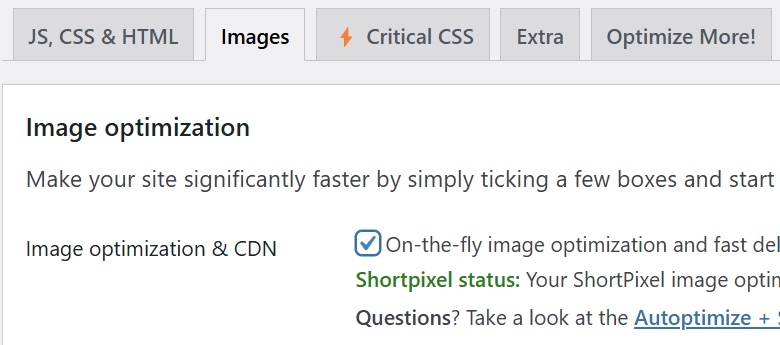
To do that, just install Autoptimize on your WordPress site, go to its Settings page, select the Images tab and then activate the “Image optimization & CDN” option:
That’s all you need to get started!
There are a couple of important things you need to take into account.
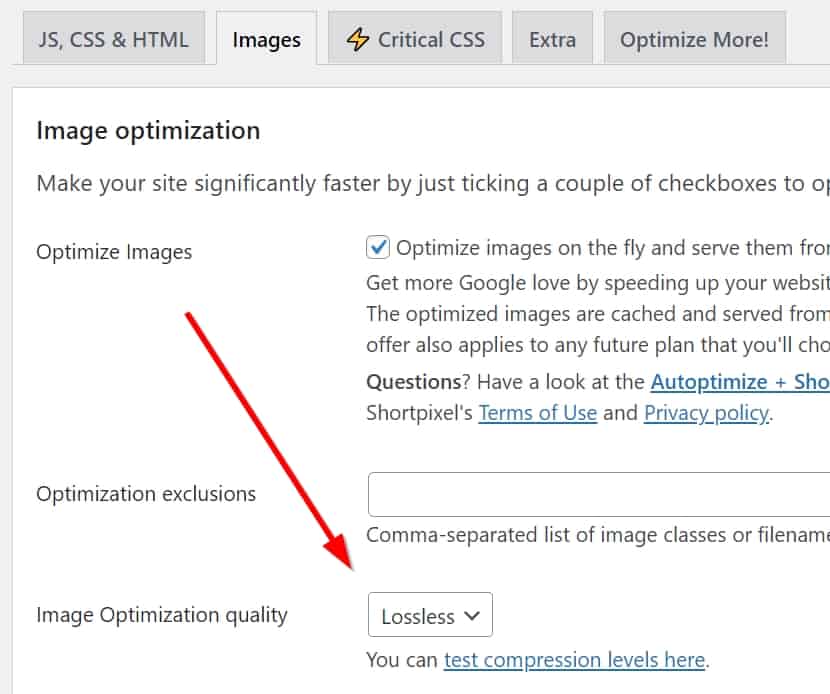
- To prevent your images from being over-optimized, you need to set the Image Optimization quality to “Lossless” on Autoptimize’s settings.
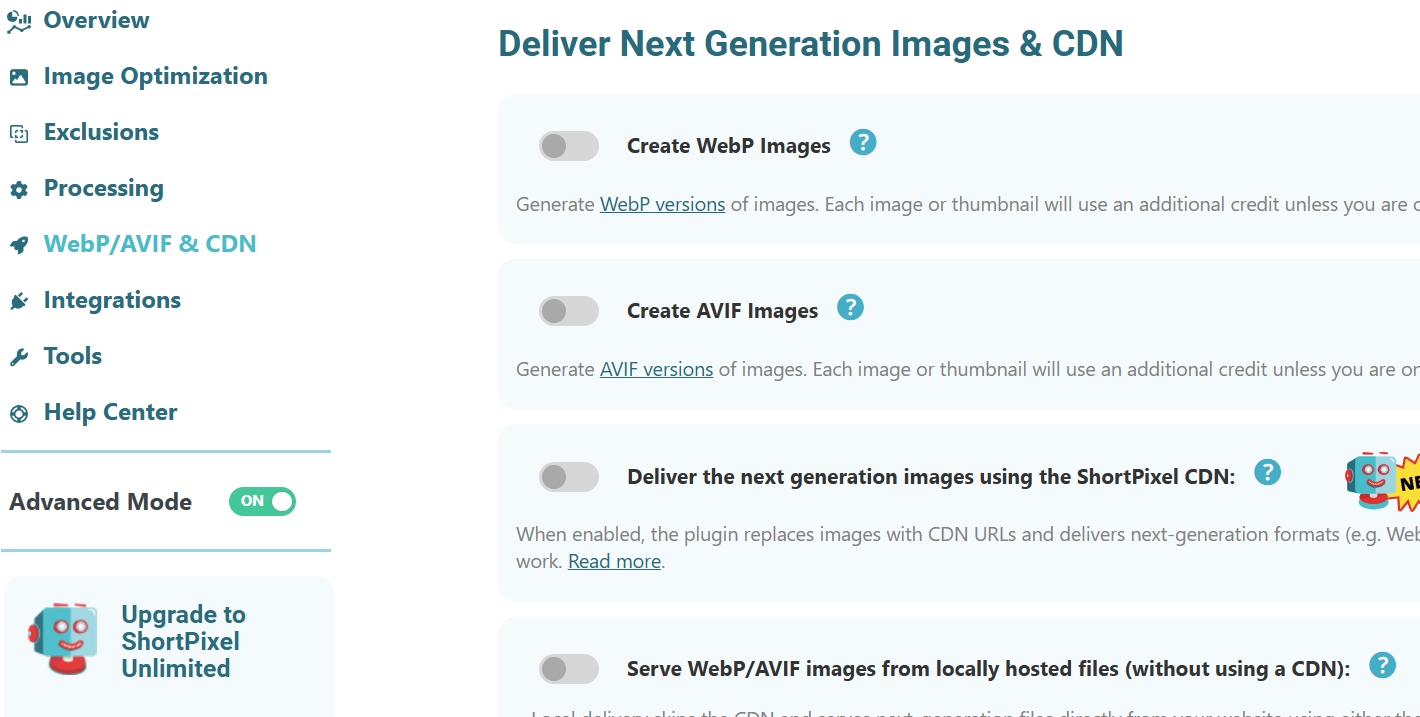
- You must also go to Settings > ShortPixel > WebP/AVIF & CDN and disable all options there.
Please note that there is a limit of 500 free image optimization credits that you can use on your site, but you can receive another 1,000 free one-time credits + 100 free monthly credits if you sign-up to ShortPixel from Autoptimize. Once you sign up at ShortPixel, make sure you also associate your website to your account.
Important update #
Starting from version 6, SPIO can also deliver your images from the ShortPixel CDN. If you’d like to take advantage of this feature, you can still use Autoptimize, but you will have to completely disable the “Image optimization & CDN” option to prevent conflicts (and because that’s exactly what the new SPIO feature does). In summary, follow these two steps:
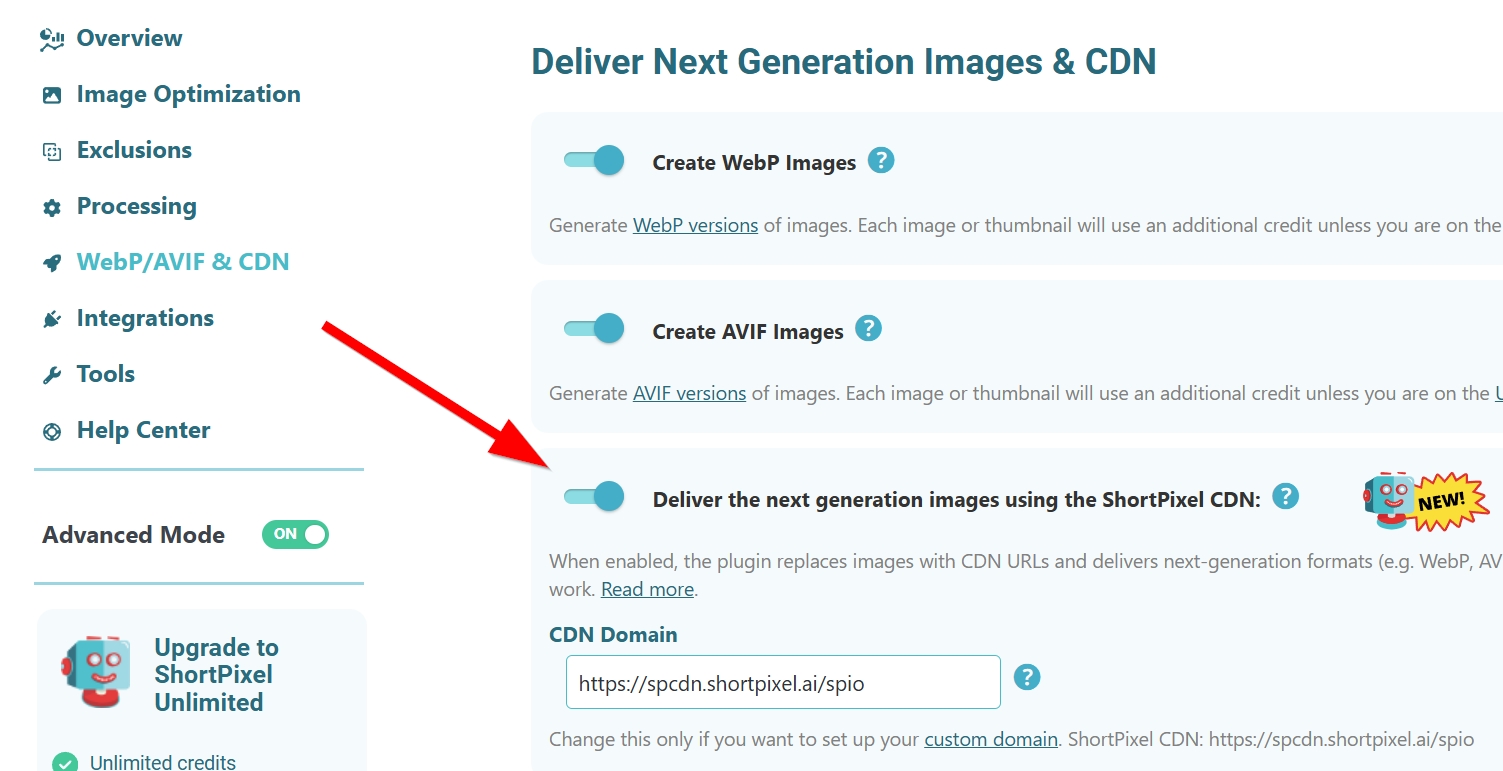
- Go to Settings > ShortPixel > WebP/AVIF & CDN and enable the “Deliver the next generation images using the ShortPixel CDN” option:
- Go to Settings > Autoptimize > Images and disable the “Image optimization & CDN” option: