After you receive the invitation and log in to your Zapier account, you can create the integration as follows:
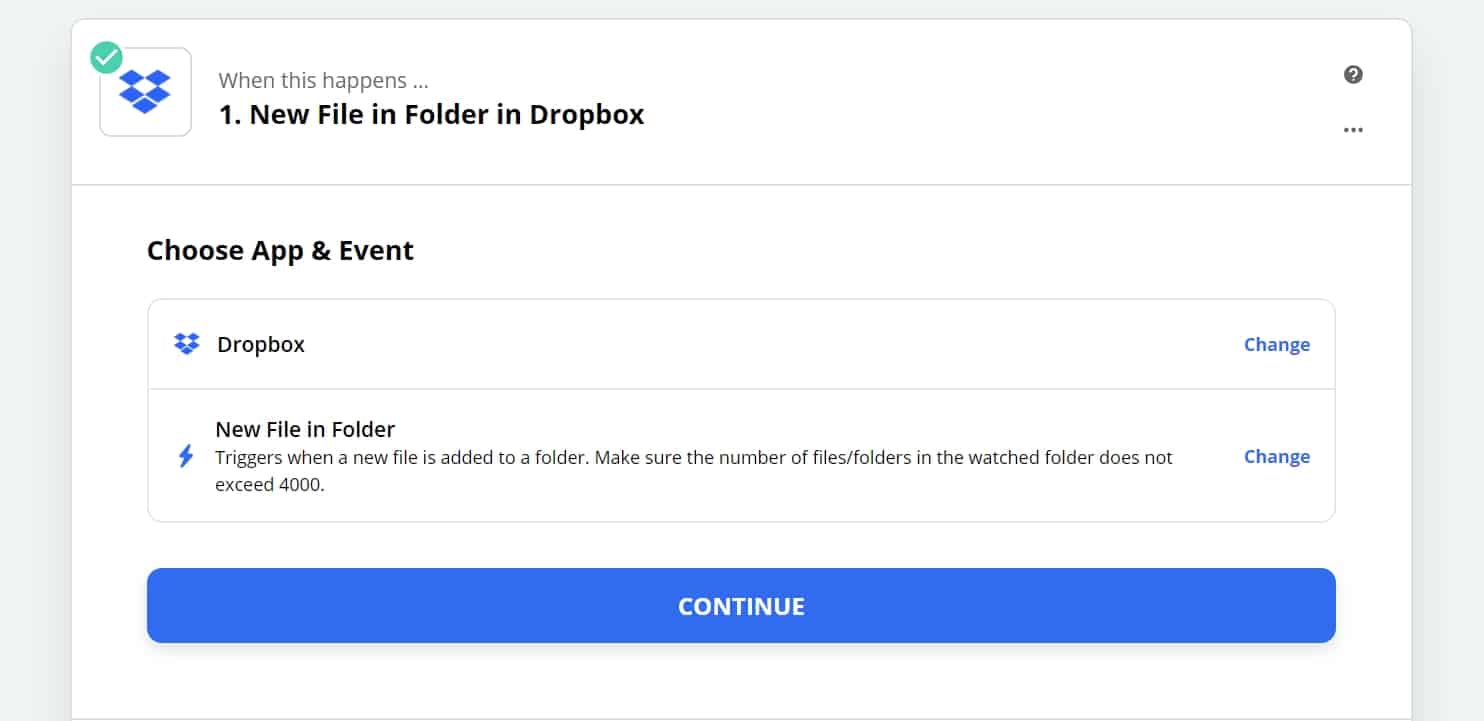
Select the Dropbox App and choose the “New File in Folder” Event:
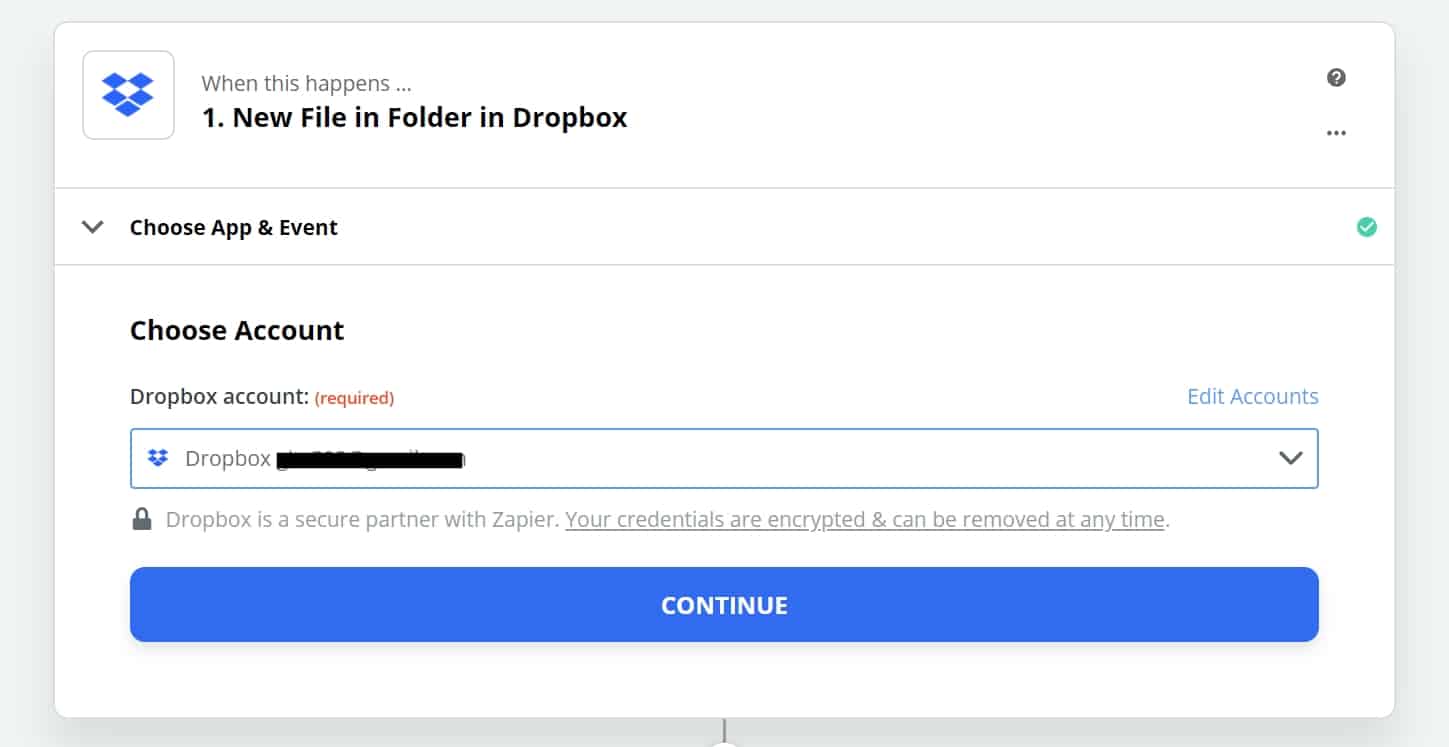
Log in to your Dropbox account:
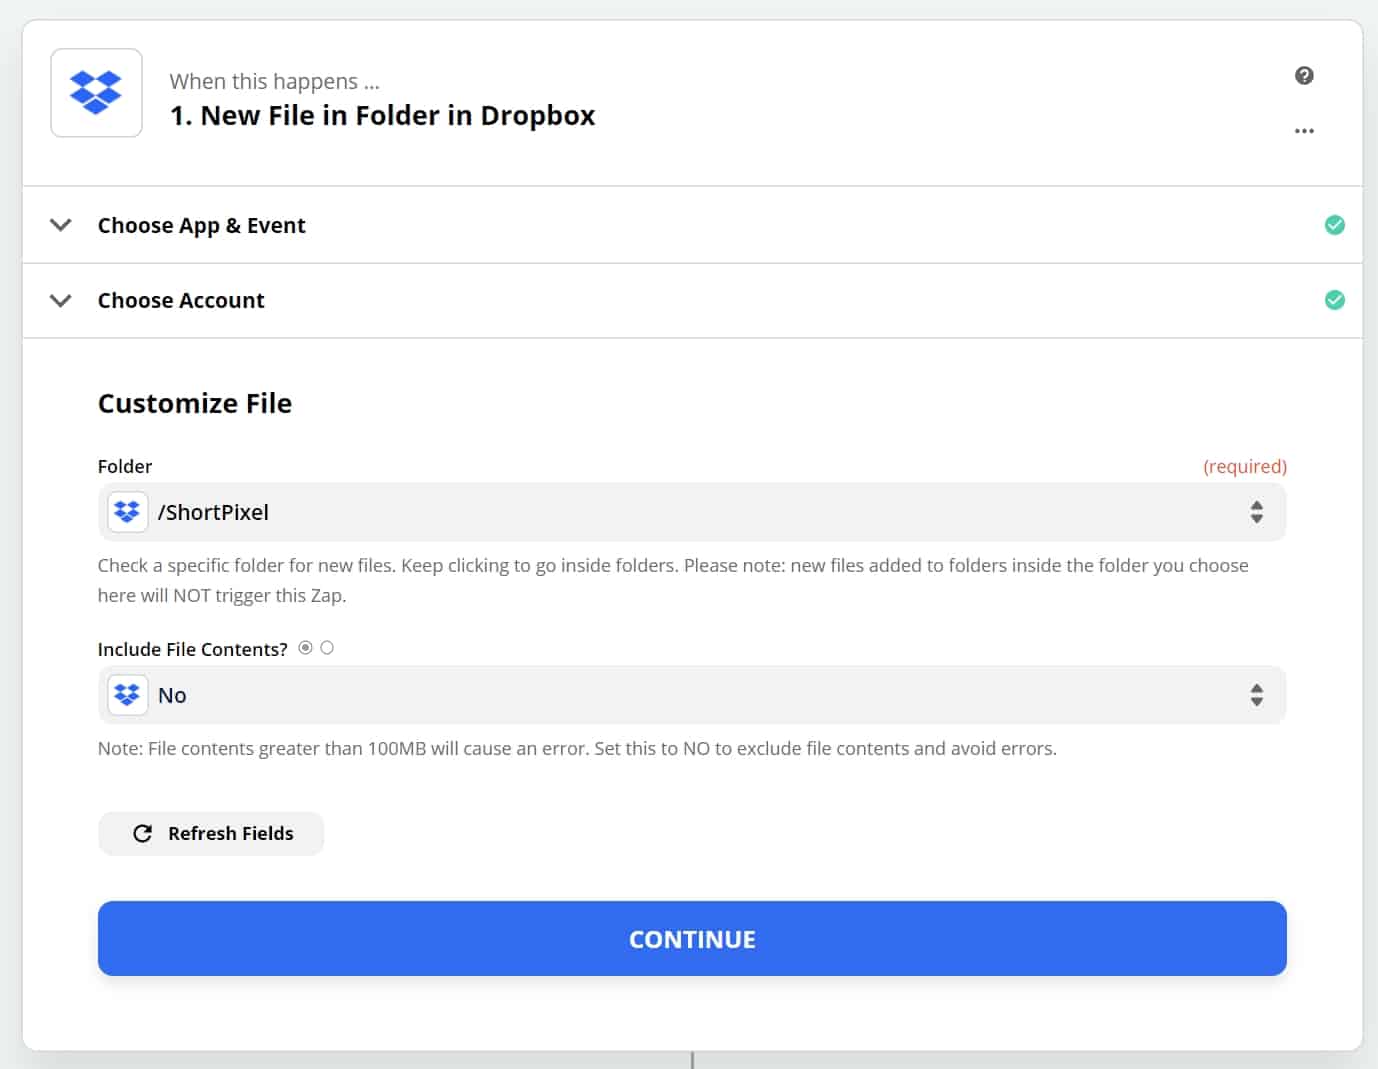
Select the folder where your images are located and select “No” under “Include File Contents?”:
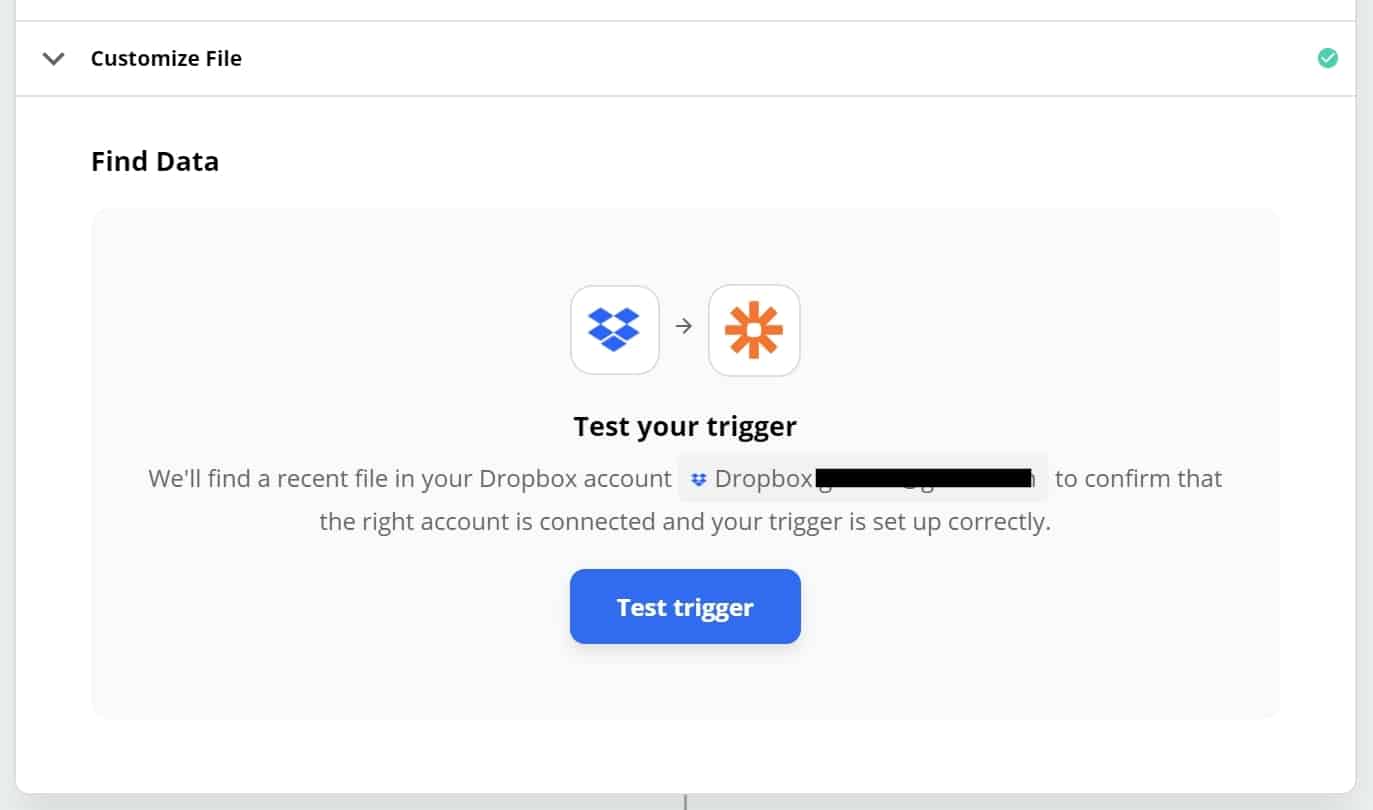
Test your trigger:
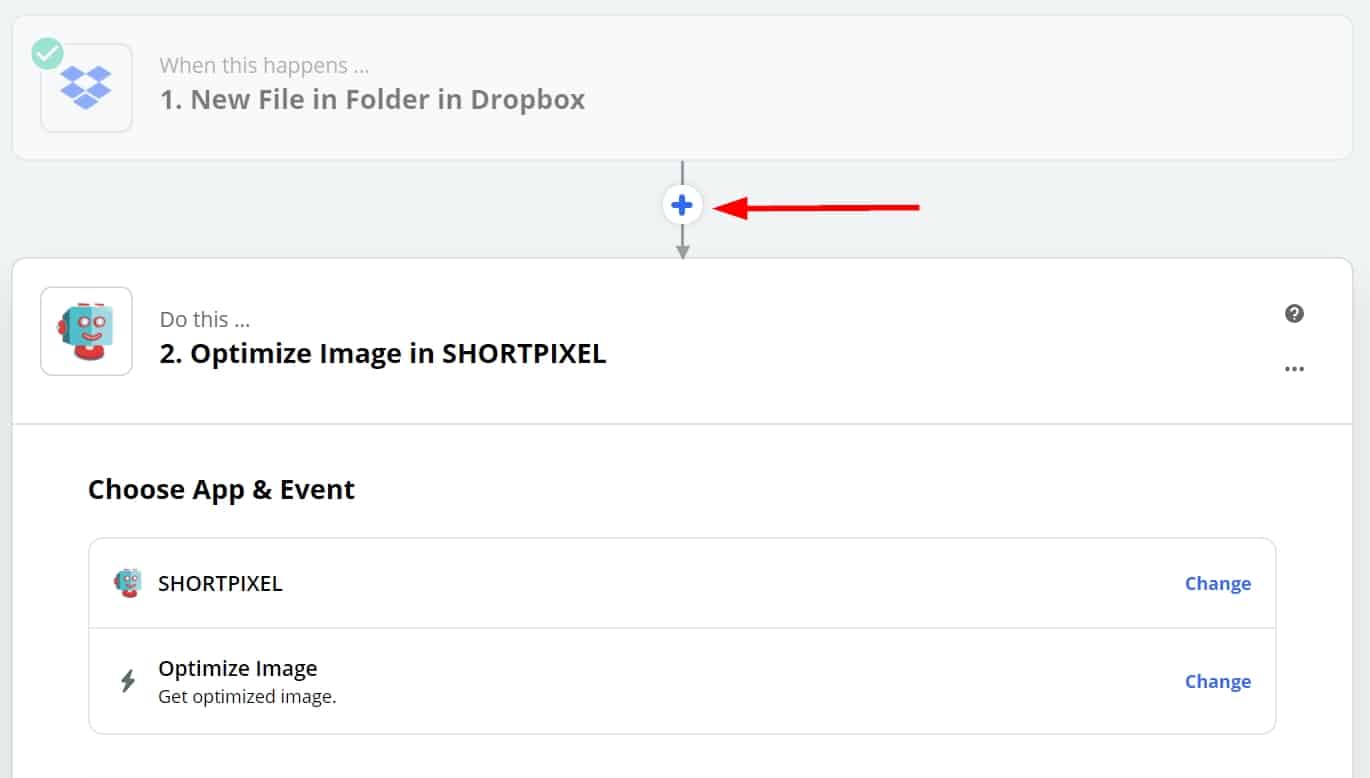
Click on the “+” icon in the middle of steps 1 and 2:
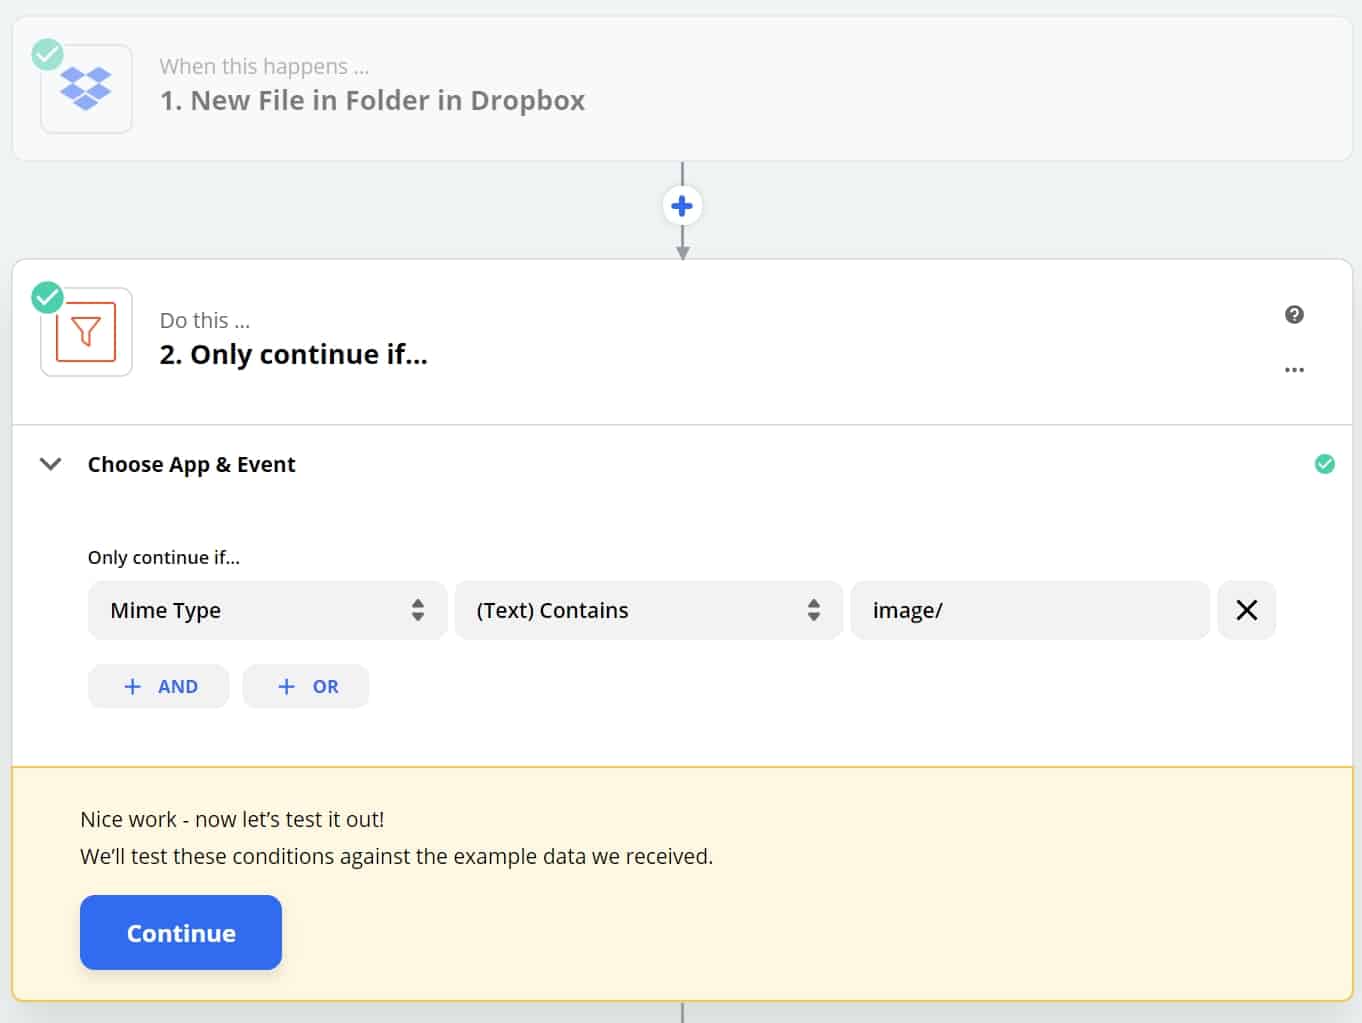
Select “Filter” and add the following fields:
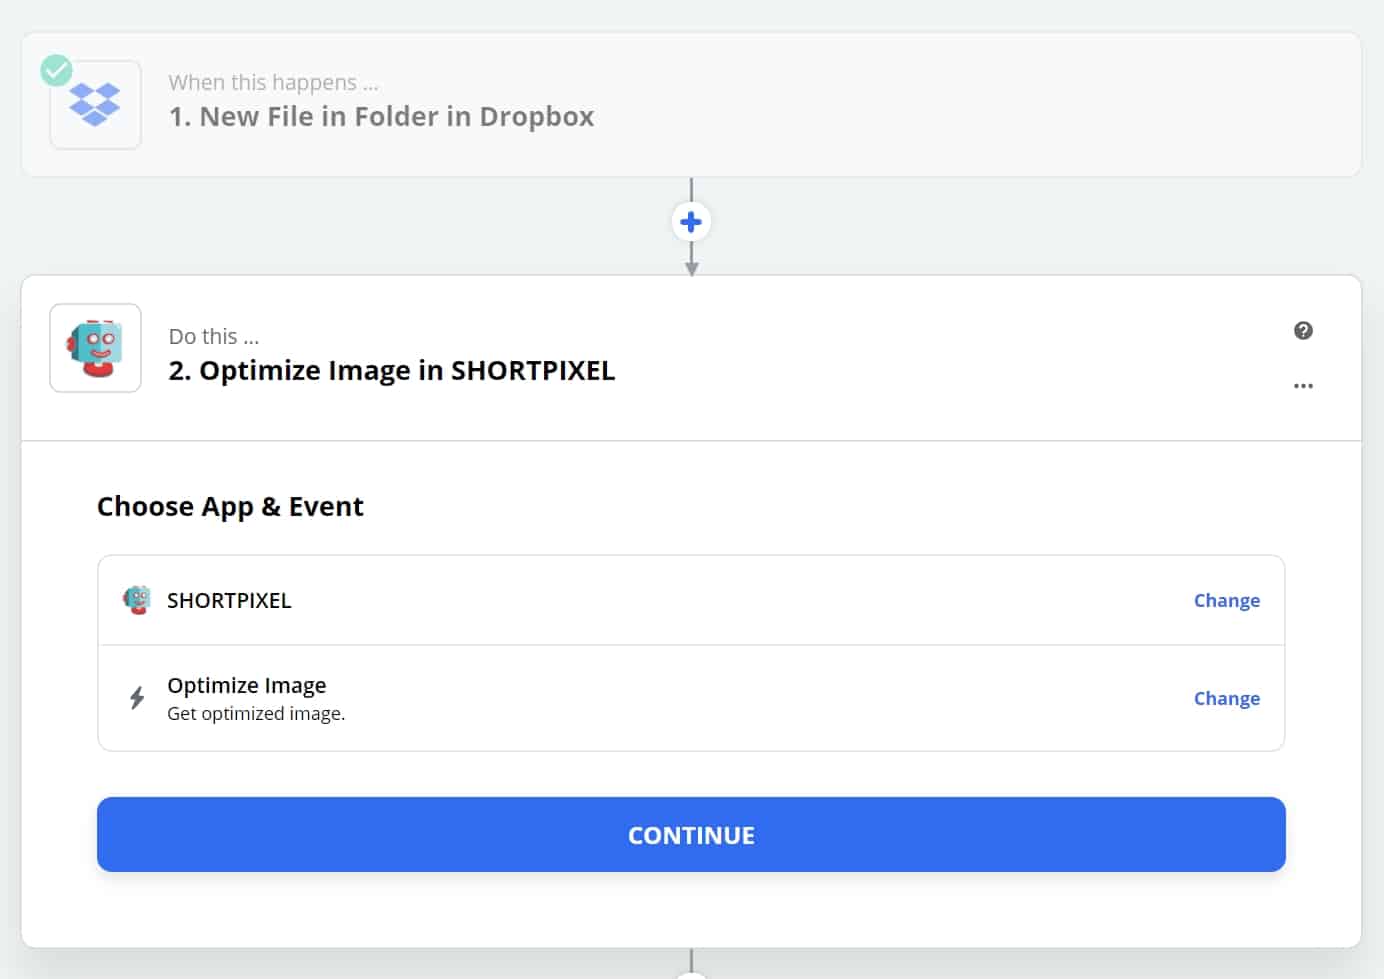
Proceed to the next step. Make sure you see the ShortPixel app and Event as in the following image and continue:
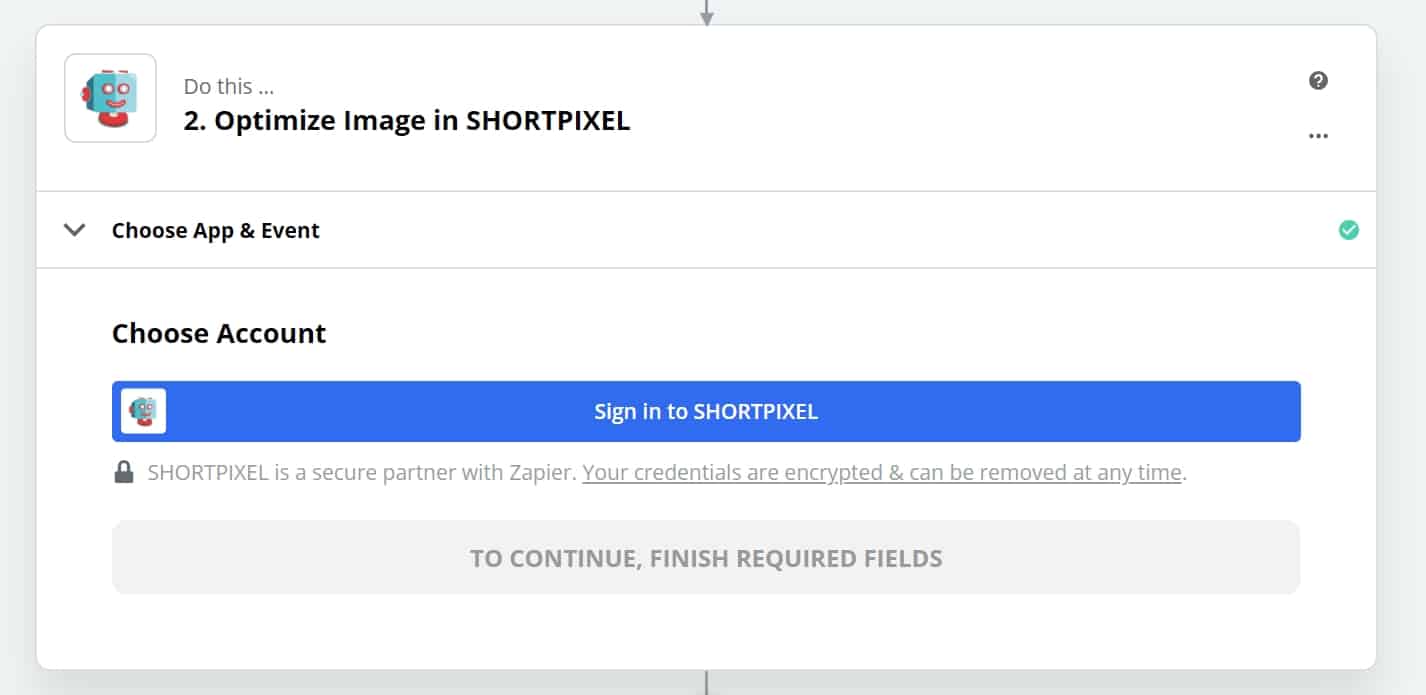
Log in to ShortPixel, where you will need to enter your API key:
Put ShortPixel to work! Choose the settings you want: Under “File”, select “Direct Media Link“, and you can set the rest of the options as needed.
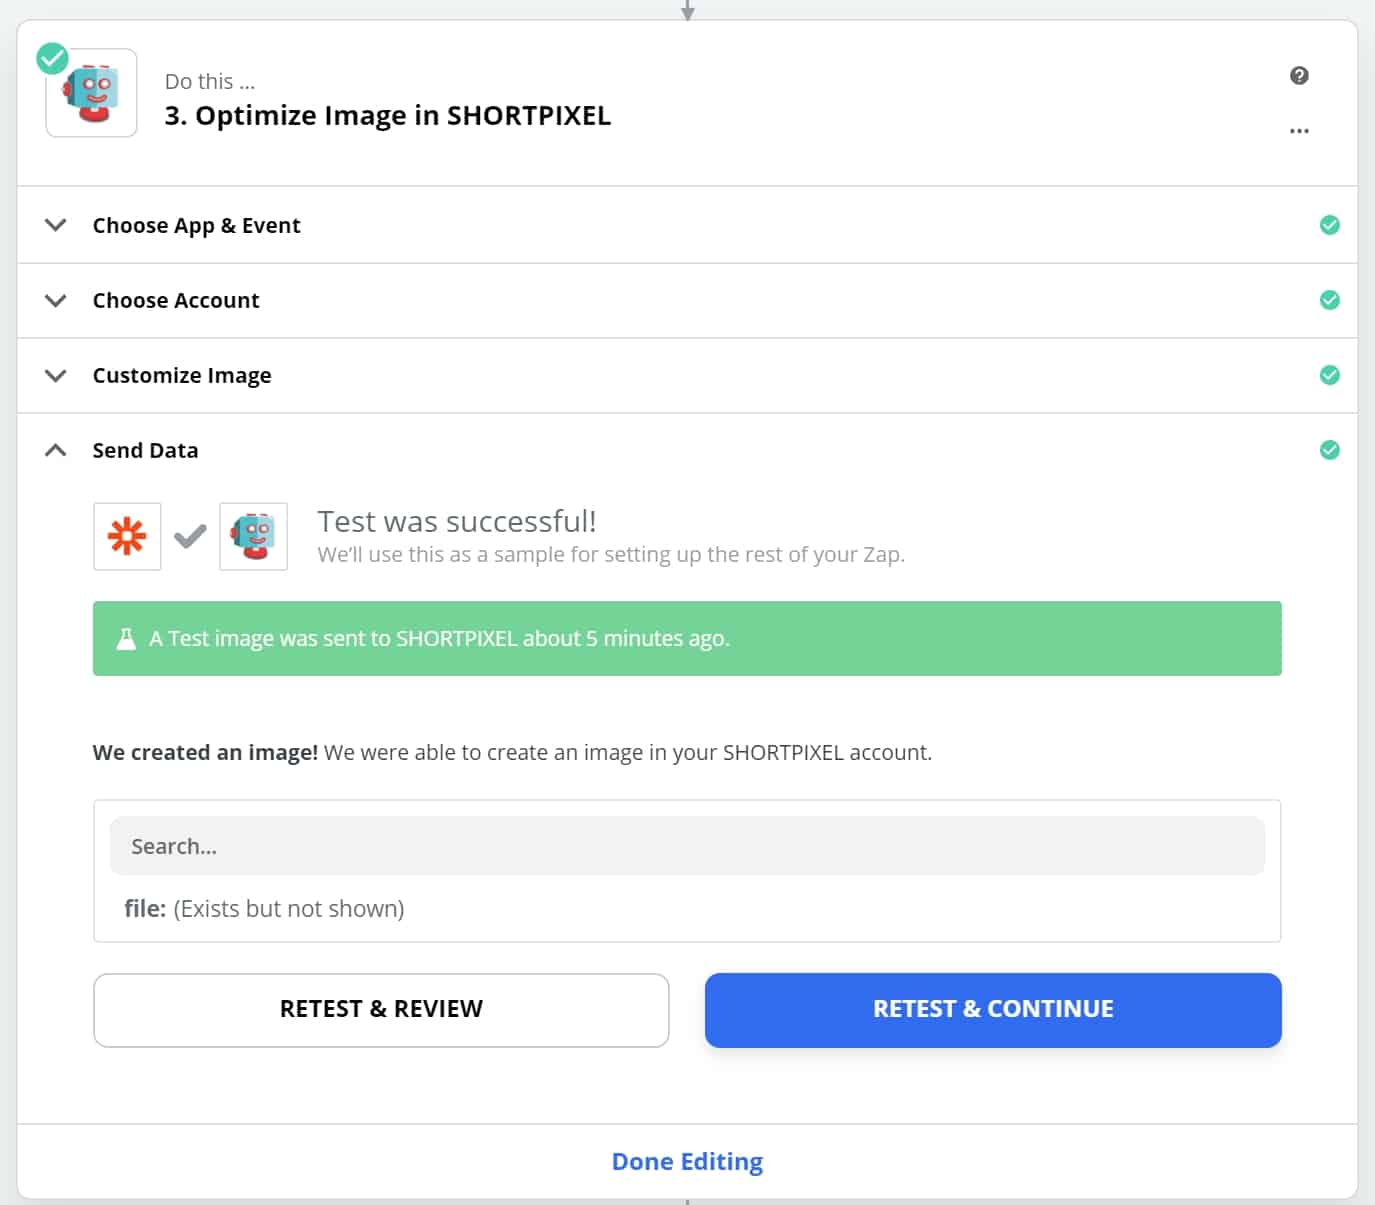
Send a test to ShortPixel, and everything should look fine:
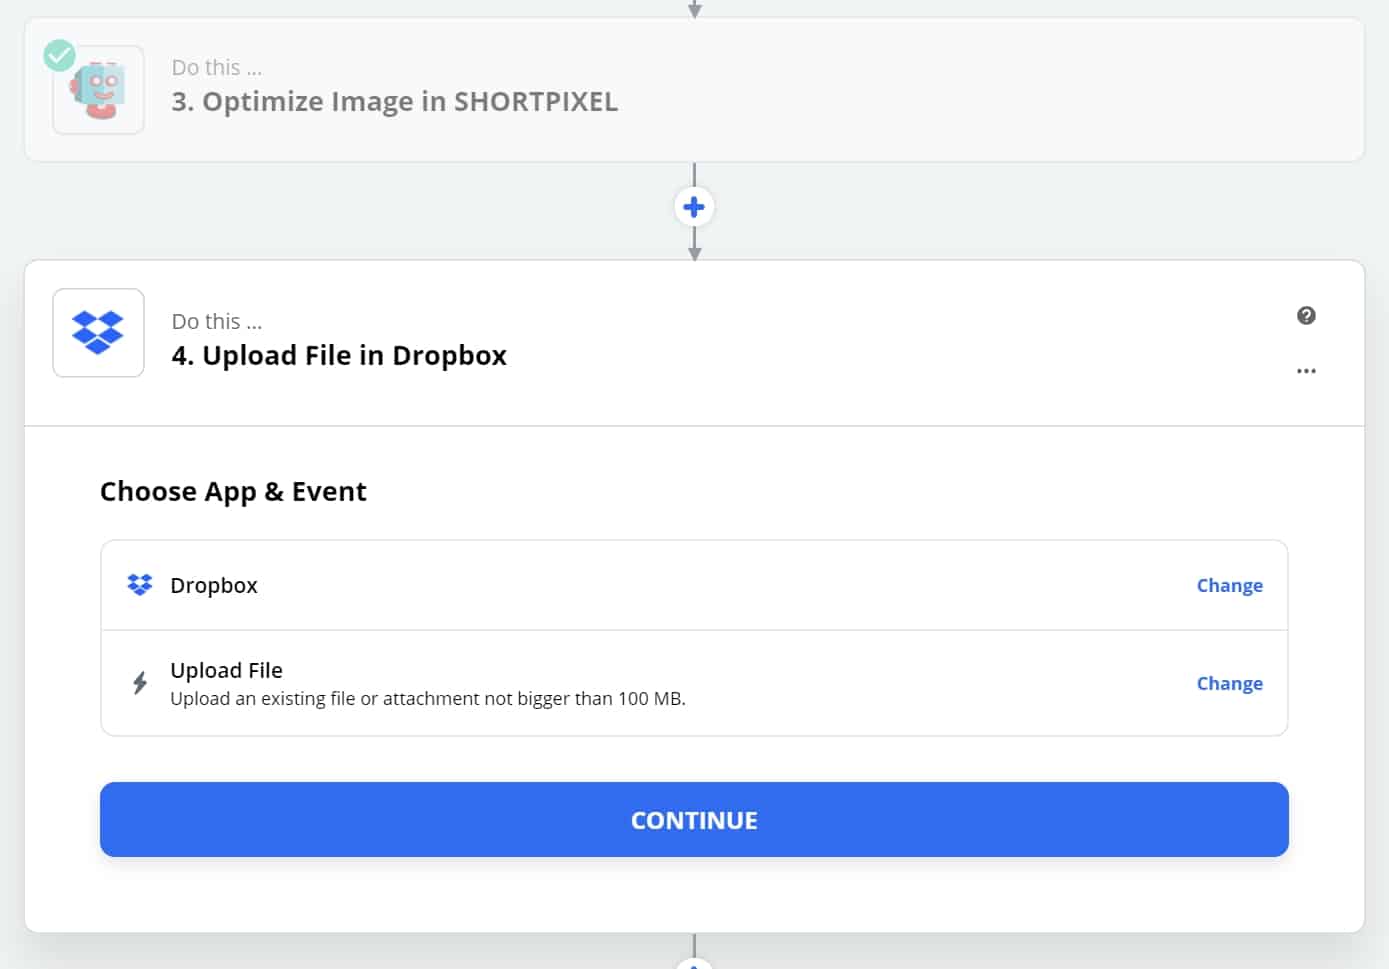
It’s time to upload the file back to Dropbox. To do this, add a final step to your Zap. Select the Dropbox appand the “Upload File” Event:
Select your Dropbox account.
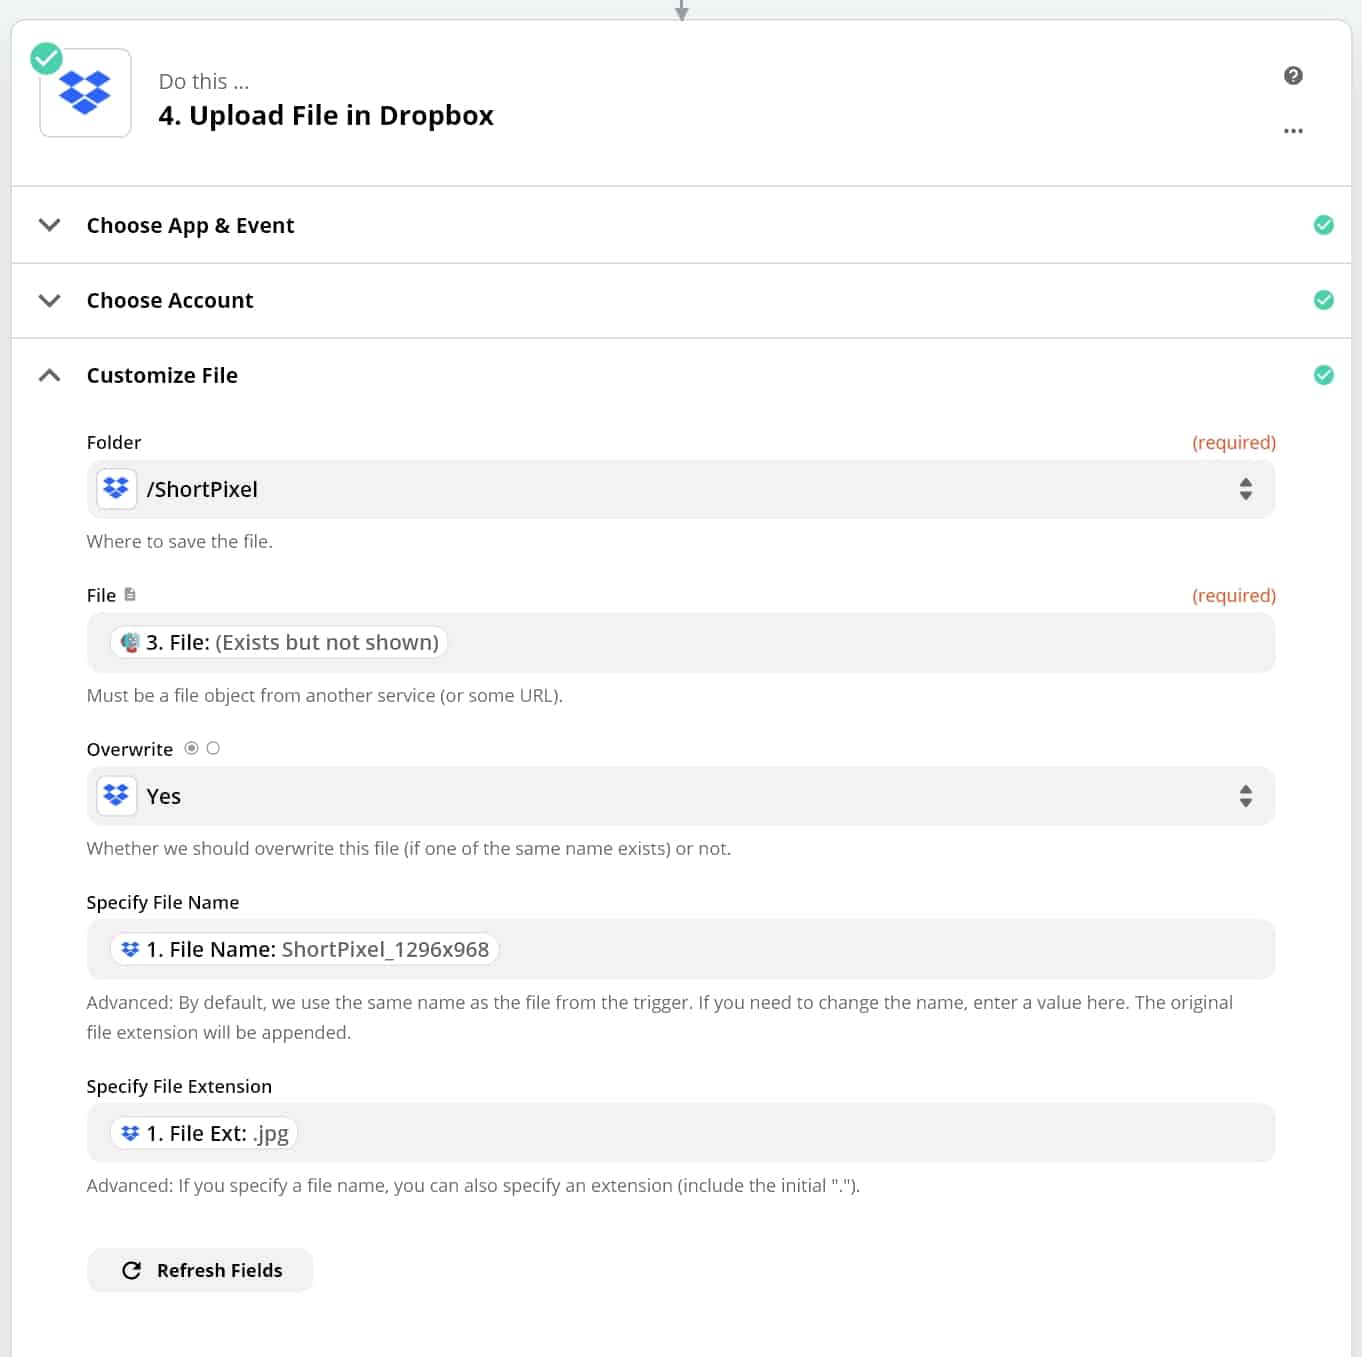
In the “Customize File” section, fill in the fields with the following parameters: – File: use the return value “File: (Exists but not shown)“. – Overwrite: “Yes“. – Specifiy File Name: Use “File Name“. – Specify File Extension: Use “File Ext“.
Test your Zap and that’s it!
Now you can add files to your Dropbox folder and they will be optimized with ShortPixel!
Note: To optimize your existing images, you need to move them back and forth to activate Dropbox’s trigger.