If you want to use your own account of Amazon CloudFront as your CDN when using
ShortPixel Adaptive Images, instead of ShortPixel’s CDN, first you need to go through the creation of a distribution: Working with distributions.
Adding an Alternate Domain Name (CNAME) #
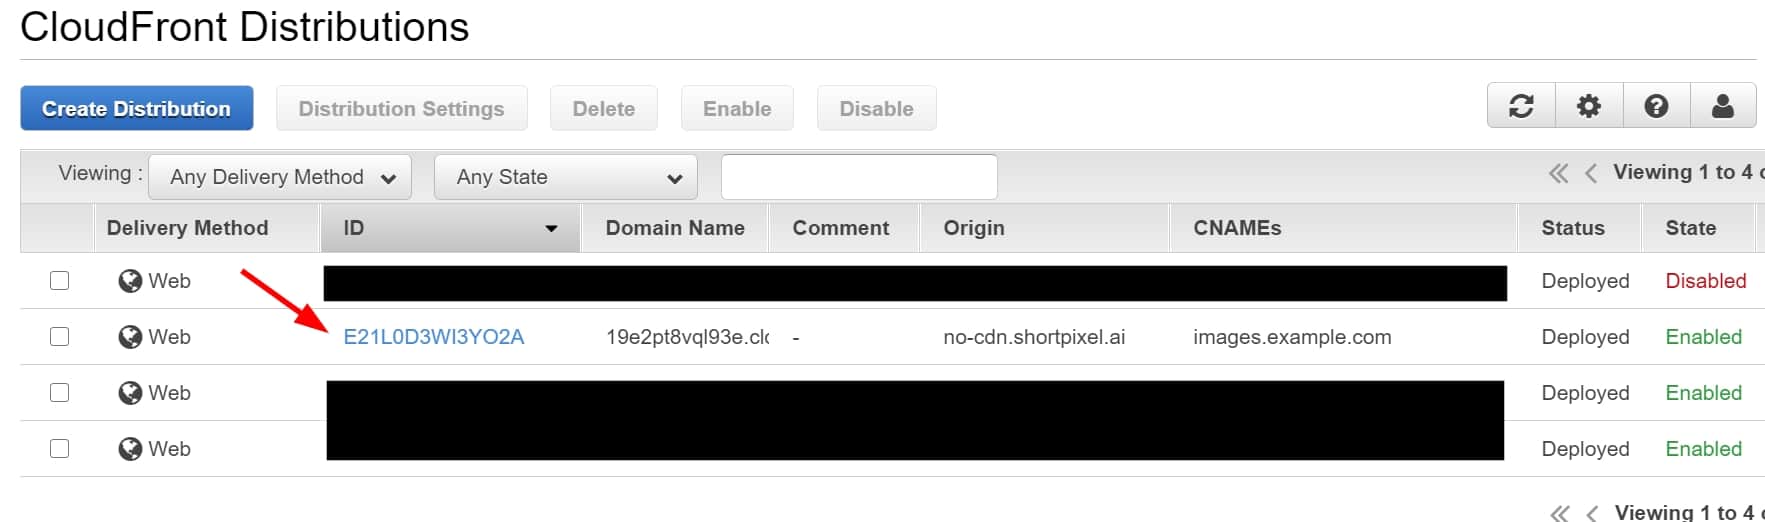
On the distribution, you will have to add an Alternate Domain Name (CNAME) that points to
no-cdn.shortpixel.ai. For instance, if your domain is example.com, you could use images.example.com. For more information, please visit
Using Custom URLs for Files by Adding Alternate Domain Names (CNAMEs) – Amazon CloudFront
You should know that CloudFront, by default, does
not send your CNAME as Host header. Instead, it sends no-cdn.shortpixel.ai. In other words, you will see your images delivered from no-cdn.shortpixel.ai instead of your chosen CNAME (like images.example.com). To correct this, please follow these steps:
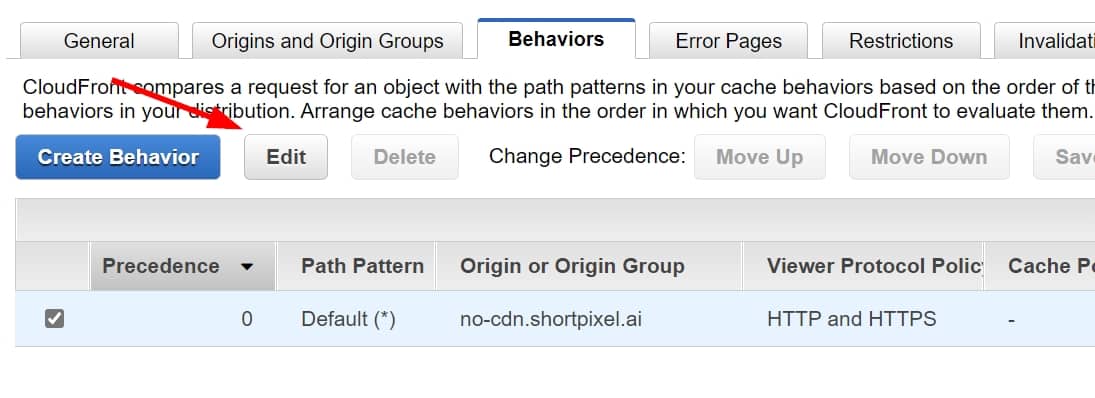
- Choose your distribution
- Choose the Behaviors tab
- Select the path you are using and then click on “Edit“
- Look for the option “Cache Based on Selected Request Headers” and select “Whitelist“.
- Under “Whitelist Headers”, add the header “Host” to the right column
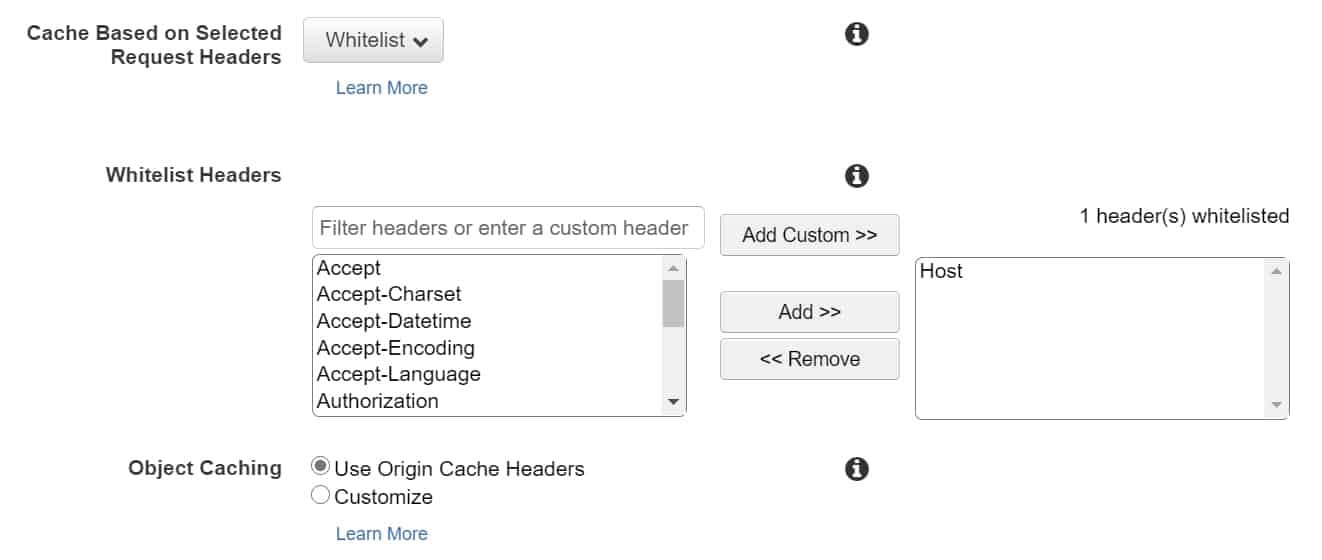
- Click on “Yes, Edit” to save the changes.
Changing the API URL #
The second step would be to change the API URL on ShortPixel’s settings. Following the previous example, where the CNAME you created was
images.example.com,
- Go to your WordPress dashboard and then Settings > ShortPixel AI > Behaviour.
- Enter
https://images.example.com/spaiin the API URL field.
Please notice that we are not responsible for any changes made by Amazon that would invalidate the previous steps. Therefore, if you encounter any issues while creating or editing the distribution, please contact your CDN provider.