Caching is a complex and interesting process, but to save some time, we will forgo deep details or complex workflows and KISS.
The cache #
noun: cache; plural noun: caches – a collection of items of the same type stored in a hidden or inaccessible place.
verb: cache; 3rd person present: caches; past tense: cached; past participle: cached; gerund or present participle: cacheing; gerund or present participle: caching – store away in hiding or for future use.
In our case, cached data is the information from a website or app that is stored on your device/plugin/hosting/CDN/etc. to speed up browsing.
Why clear the cache? #
Security/privacy – if your computer is also used by another person, they can see your activities on the internet.
Troubleshooting – sometimes the cache can cause problems because something has changed, but the browser/plugin/CDN is not up to date and loads the old information. This can cause the page to load slowly, return errors, not respond properly, etc.
In what order? #
The correct order for clearing your cache is determined by the information workflow.
- CSS/JS optimization components (ShortPixel Adaptive Images, Autoptimize, Asset CleanUp, Perfmatters, your theme, etc.)
- Cache plugins (WP Rocket, Cache Enabler, Swift Performance, W3 Total Cache, etc.)
- Hosting/Server (Kinsta, WP Engine, Varnish, etc.)
- CDN (Cloudflare, bunny.net, etc.)
- Browser (Chrome, Edge, Firefox, etc.)
Examples #
1. CSS/JS #
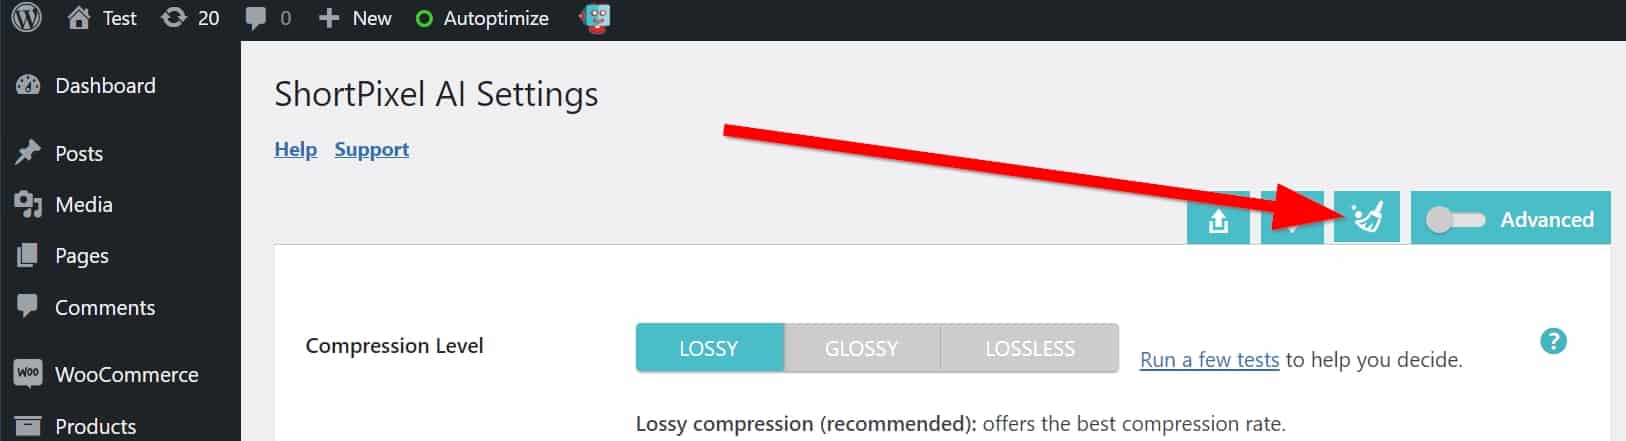
ShortPixel Adaptive Images #
Go to Settings → ShortPixel AI and press the button “Clear CSS cache“.
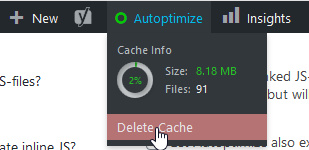
Autoptimize #
On your WordPress Toolbar, hover over Autoptimize and click on Delete Cache:
2. Cache plugins #
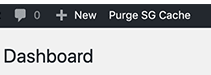
SiteGround Optimizer #
On your WordPress Toolbar, click on Purge SG Cache:
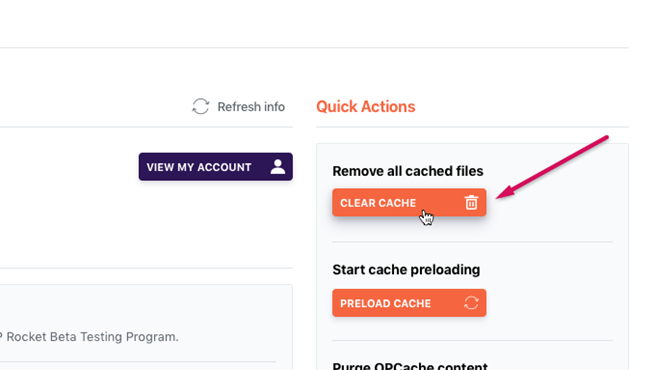
WP Rocket #
a. Clear cache on the whole site #
Go to Settings → WP Rocket → Dashboard tab and press the Clear cache button.
Another way is via the WordPress Toolbar. Hover over the WP Rocket menu link and you will see a dropdown menu. Click on the Clear cache link.

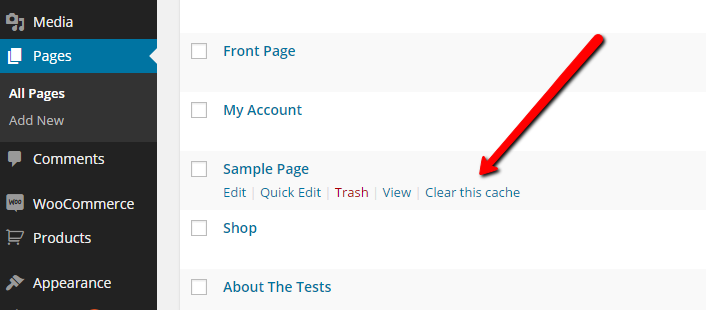
b. Clear cache on specific post/page #
There are two ways to clear the cache for specific posts/pages.
Visit the Pages or Posts section in WordPress and hover over the table row of a page or post to see the Clear this cache link.
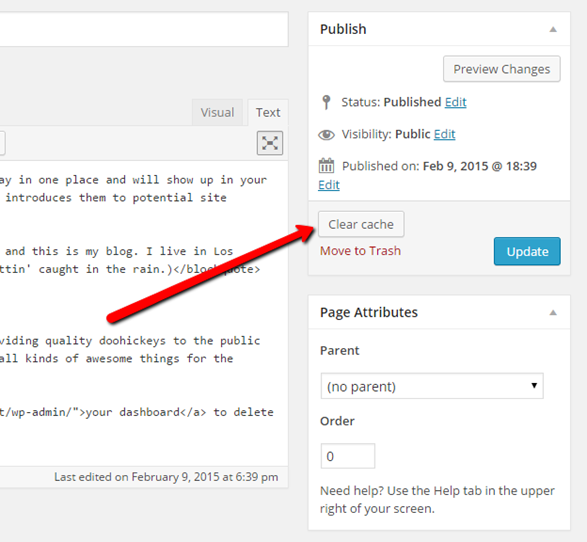
Another way to do this is on the Edit screen of a post or page. The Clear cache button can be found in the Publish meta box.
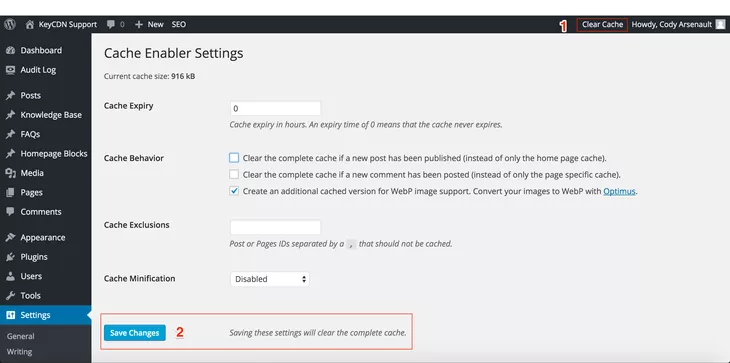
Cache Enabler #
You can clear the cache manually via the WordPress Toolbar (1) or via the Save Changes button (2) on the Cache Enabler settings page.
3. Hosting #
SiteGround #
Click the “Purge SG Cache“ button on the WordPress Toolbar. If you can’t see the button, you need to install the plugin SG Optimizer. You should also contact SiteGround support to make sure you actually have the caching layers enabled.
Alternatively, you can log into your SiteGround control panel and clear the server cache from there: https://www.siteground.com/kb/clear-site-cache/
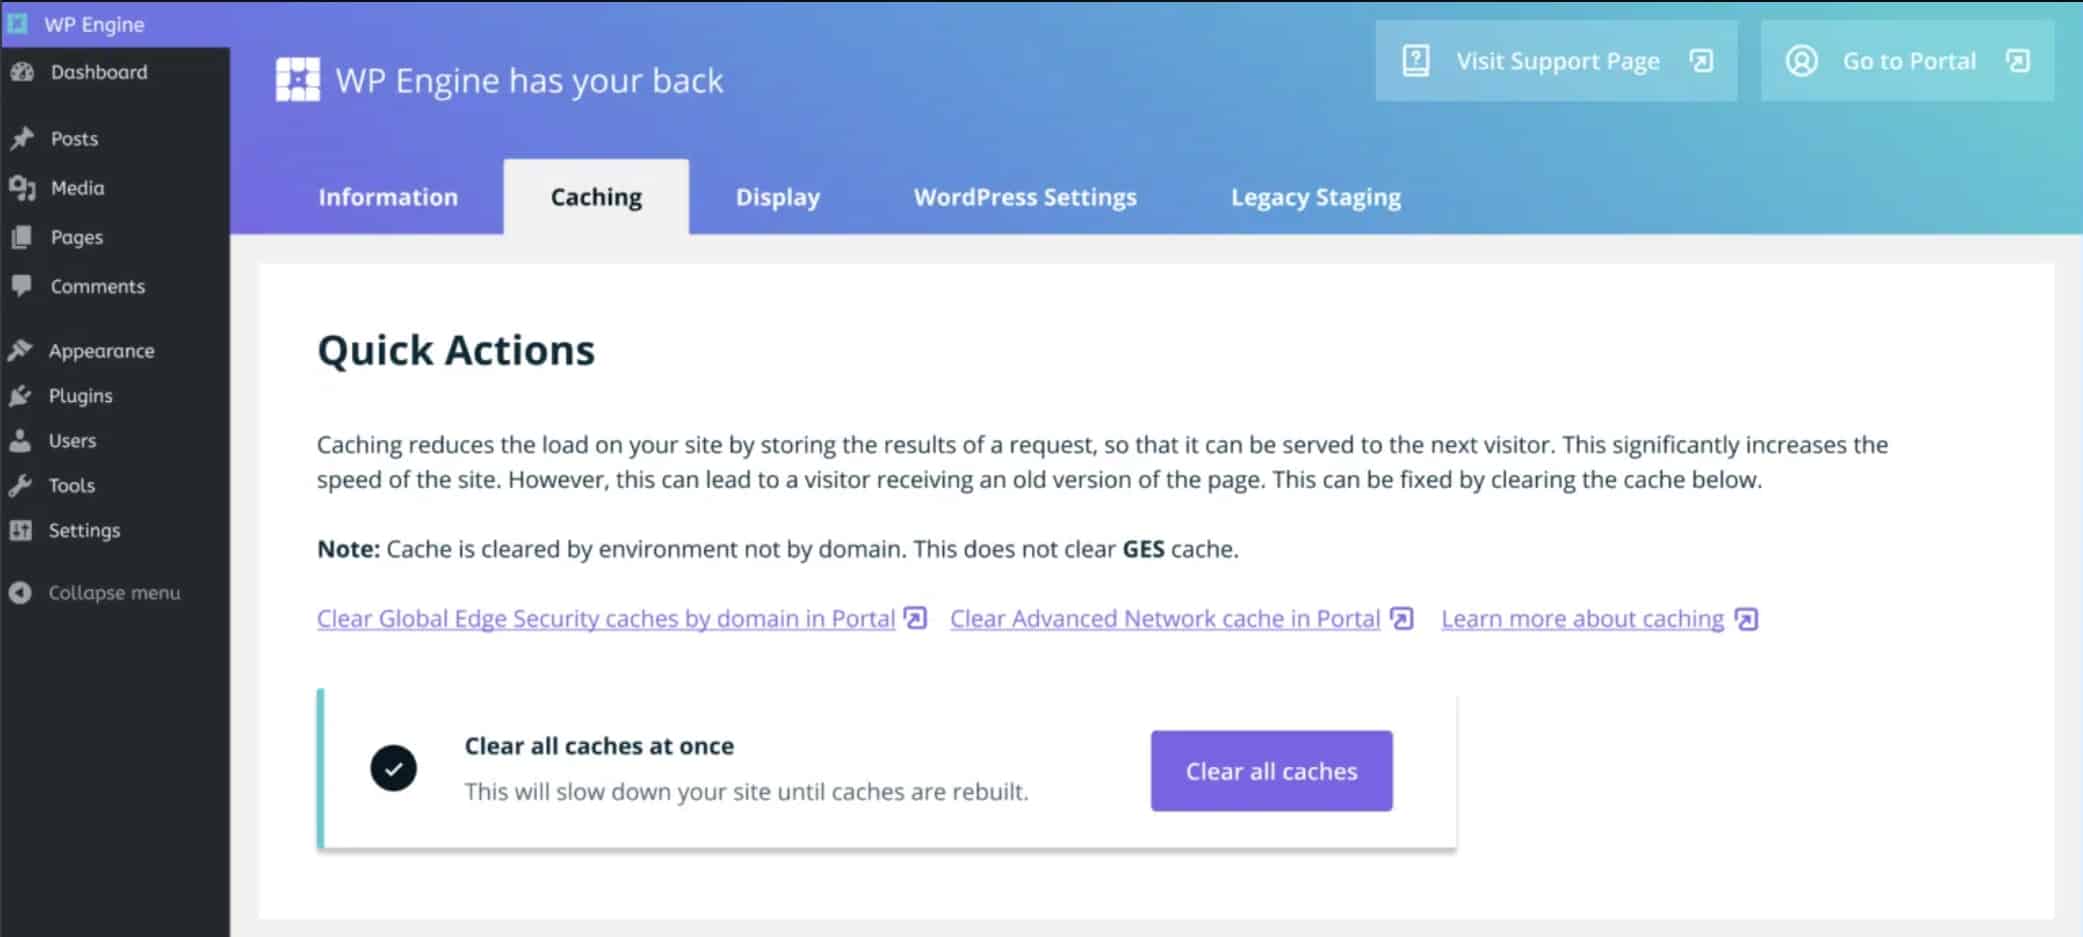
WP Engine #
- Log into the WordPress admin dashboard.
- Click on the WP Engine menu.
- Go to the Caching tab.
- Click Clear all caches.
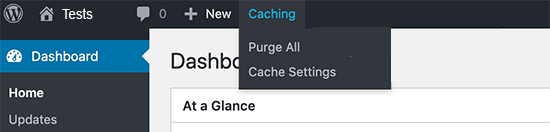
Bluehost #
On your WordPress Toolbar, hover over Caching and then select Purge All.
4. CDN #
Flush an image / all images from ShortPixel’s CDN #
If you are using ShortPixel Adaptive Image or Autoptimize (with the option to optimize images with ShortPixel) and need to flush one of the images cached in the CDN, you can simply follow these instructions: How to flush an image/all images from ShortPixel CDN?
If you are using ShortPixel Adaptive Images and need to flush all the images from the cache of our CDN, you can also follow these instructions: How to flush an image/all images from ShortPixel CDN?
If you are using Autoptimize (with the option to optimize images with ShortPixel) and need to flush all images from the cache of our CDN, you can also follow these instructions: How to flush CDN cache for Autoptimize.
Flush CDN cache for Cloudflare #
Information taken from Purging cached resources from Cloudflare
Purging by single-file through your Cloudflare dashboard #
- Log into Cloudflare and select the site with the resources to purge.
- Click the Caching app.
- In the Purge Cache pane, click Custom Purge.The Custom Purge dialog box appears.
- Select URL in the Purge by field.
- Enter the appropriate value(s) in the text box, using the format type shown in the example.
- Perform any additional instructions to complete the form.
- Review your entries.
- Click Purge
Purge everything through your Cloudflare dashboard #
Reminder: It is highly recommended to perform single-file purges for technical reasons.
- Login to Cloudflare and select the site with the resources to purge.
- Click the Caching app.
- In the Purge Cache pane, click Purge Everything.A warning dialog appears.
- If you agree, click Purge Everything.
5. Browsers #
Google Chrome #
Chrome – Windows #
- On your computer, open Chrome.
- Click the button with the 3 dots in the top right corner.
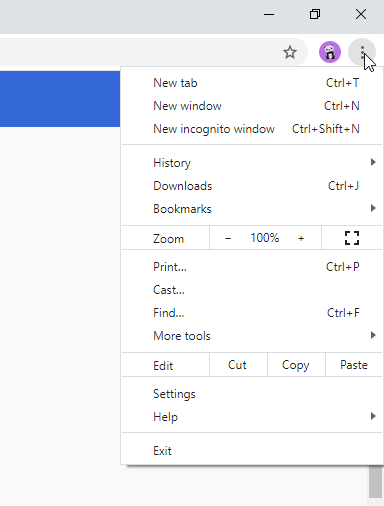
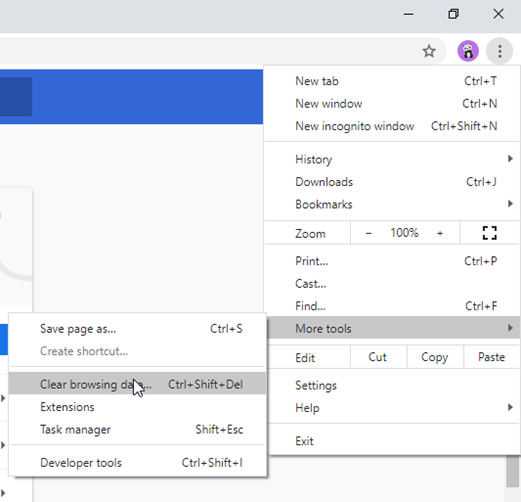
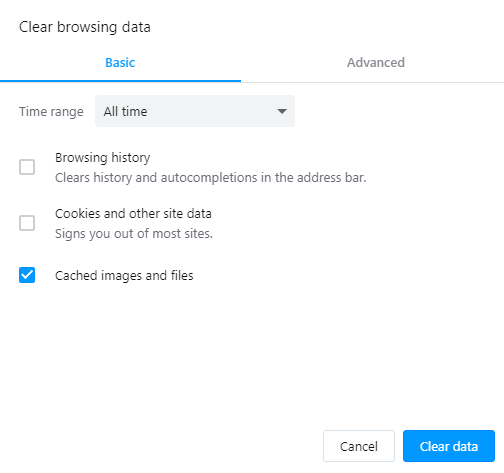
- Click More tools → Clear browsing data.
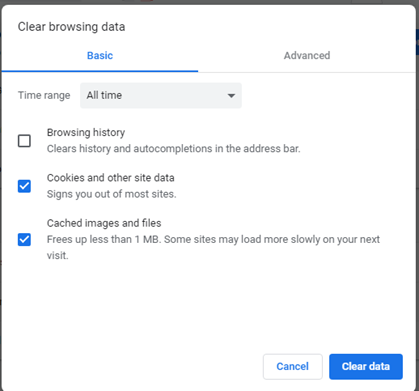
- Select a Time range at the top. To delete everything, select All time.
- Check the box next to Cached images and files.
- Click on Clear data.
For more information, please visit the following page: Clear cache & cookies
Chrome – Android #
- On your Android phone or tablet, open the Chrome app.
- Tap the button with the 3 dots in the top right corner.
- Tap on History → Clear browsing data.
- Select a Time range at the top. To delete everything, select All time.
- Check the box next Cached images and files.
- Tap Clear data.
For more information, please visit the following page: Clear cache & cookies
Chrome – iPhone/iPad #
If you clear your cache or cookies, your browser may log you out of your Google Account. To make sure you can log back in, update your recovery phone number and email address.
- On your iPhone or iPad, open the Chrome app.
- Tap the button with 3 dots at the bottom.
- Tap History → Clear browsing data.
- Make sure there is a check mark next to Cached Images and Files.
- Tap Clear browsing data.
For more information, please visit the following page: Clear cache & cookies
Mozilla Firefox – Windows #
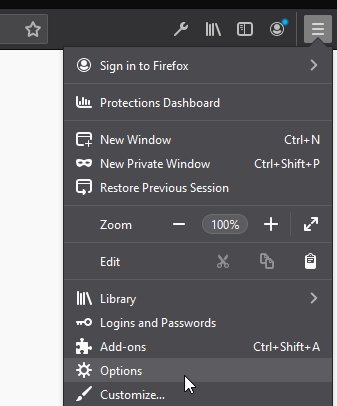
- Click the Menu button and select Options
- Select the Privacy & Security panel.
- On the Cookies and Site Data section, click on Clear Data…

4. Remove the check mark in front of Cookies and Site Data
5. With the Cached Web Content check marked, click the Clear button.
6. Close the about:preferences page. Any changes you’ve made will automatically be saved.
For more information, please visit How to clear the Firefox cache | Firefox Help
Microsoft Edge – Windows #
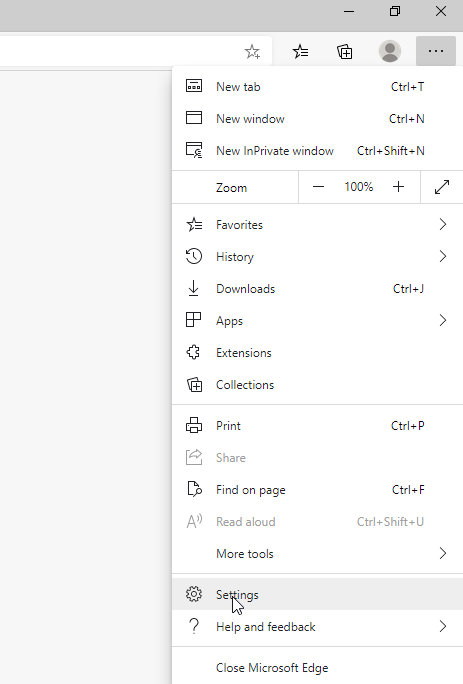
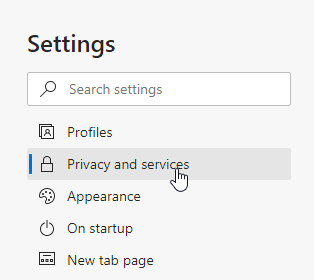
- Open Microsoft Edge and then select Settings → Privacy, search, and services
2. Under Clear browsing data, select Choose what to clear.
3. Under Time range, choose a time range.
4. Select Cached images and files, and then select Clear now.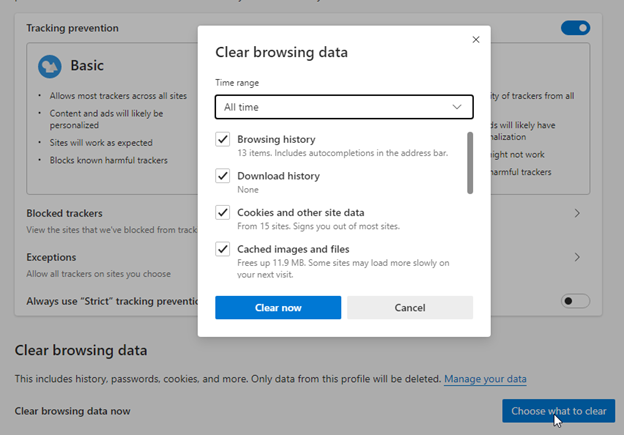
For more information, please visit View and delete browser history in Microsoft Edge
Opera – Windows #
Press Ctrl+Shift+Del to open your Clear browsing data options. Make sure Cached images and files is selected and then click on Clear data.
For more information, please visit How to clear cache, cookies and other history data in browser | Opera
Safari – macOS #
You can clear the cache through the developer menu.
- Select the first item Safari in the main menu and from the drop-down the item Preferences…
- A popup opens. Click on the tab Advanced.
- Check the option Show Develop menu in menu bar at the bottom. Now you should see a new menu item in the main menu named Develop.
- If you click on the menu item Develop you can select Empty Caches from the submenu items.
- Reload the site.
Internet Explorer – Windows #
- Close all Internet Explorer windows.
- Open a new Internet Explorer window, and then click on Tools → Internet Options (if you don’t see this, press the Alt key to show the menu bar).
- In the General tab, under Browsing History section, click Delete.
- In the Delete Browsing History window, select the check box for Temporary Internet Files and website files.
- Click on Delete.