The functionality of ShortPixel Image Optimizer can be extended by defining constants on the wp-config.php file. What this means is that we can add several lines on that file to add some advanced features to the plugin.
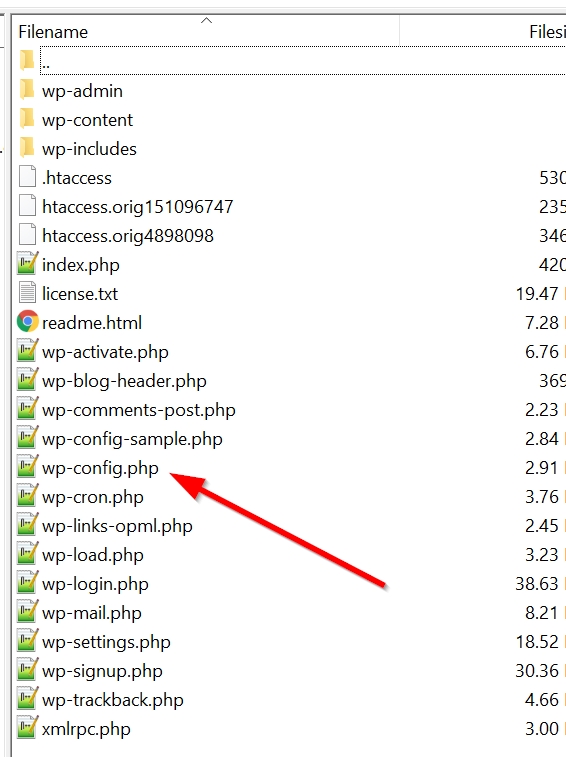
First, locate the file, which must be on the root of your WordPress installation, and edit it.
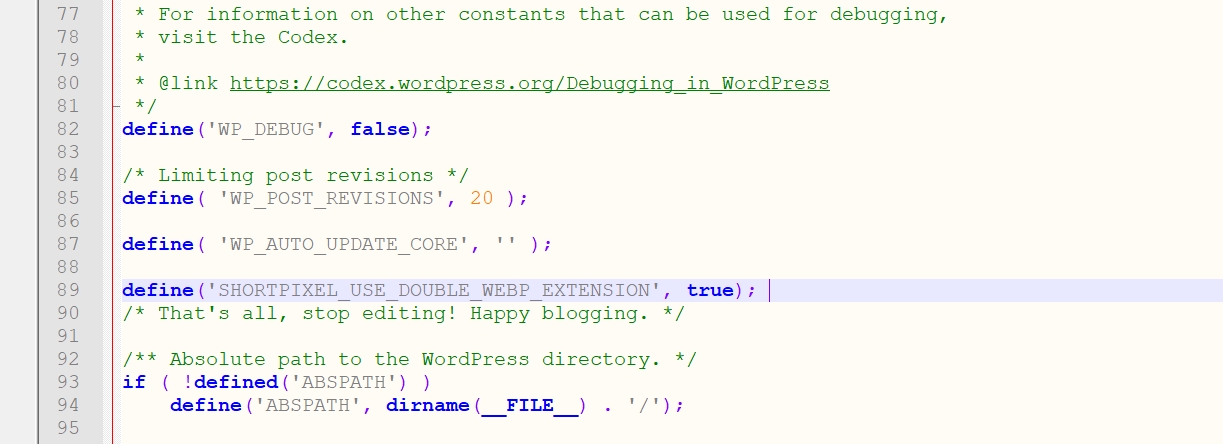
Now, you must add each line before the line that says
/* That's all, stop editing! Happy blogging. */We will see an example later.
List of constants #
define('SHORTPIXEL_CUSTOM_THUMB_SUFFIXES', '_tl,_tr');If you have a theme which creates thumbnails that don’t have the usual suffix image-WWWxHHH.jpg , where WWW is the width and HHH is the height of the image, and you want such thumbnails to be handled by ShortPixel too, you should add this line and add all the custom suffixes your theme is creating separated by commas.
For example, the line above will handle the images with the suffixes _tl and _tr, like image-100x100_tl.jpg or image-100x100_tr.jpg
define('SHORTPIXEL_CUSTOM_THUMB_INFIXES', '-uae');This constant does the same as the previous but treating infixes. For example, custom thumbnails like image-uae-100x100.jpg
define('SHORTPIXEL_USE_DOUBLE_WEBP_EXTENSION', true);This tells the plugin to create double extensions for the WebP image counterparts. Obviously, this is valid only if the WebP option is selected on Settings > ShortPixel > WebP/AVIF & CDN (learn more). This means that your WebP files will have the extension .jpg.webp (or .png.webp if it’s a PNG) instead of .webp.
define('SHORTPIXEL_USE_DOUBLE_AVIF_EXTENSION', true);Similarly, this constant tells the plugin to create double extensions for the AVIF image counterparts. Again, this is valid only if the AVIF option is selected on Settings > ShortPixel > WebP/AVIF & CDN (learn more). In conclusion, your AVIF files will have the extension .jpg.avif (or .png.avif if it’s a PNG) instead of .avif.
define('SHORTPIXEL_API_KEY', '<<your api key here>>');If you would like to set your API key through the wp-config.php file instead of the Settings screen, you can do so with this define. Just replace <<your api key here>> with your actual API Key.
define('SHORTPIXEL_HIDE_API_KEY', true);In case you need to hide the API key from your Settings screen, use this constant. It will appear like this: ************
define("SHORTPIXEL_NOFLOCK", true);This will make your site to not use the flock queue; only activate this when you have flock() denied errors on your installation.
define("SHORTPIXEL_EXPERIMENTAL_SECURICACHE", true);This adds timestamps to the URLs, to prevent hitting the cache. It’s useful for persistent caches.
define('SHORTPIXEL_CFTOKEN', '<<the Cloudflare API token that has Purge Cache right>>');
define('SHORTPIXEL_CFZONE', '<<The Zone ID from the domain settings in Cloudflare>>');
Hide the Cloudflare settings (Settings > ShortPixel > Integrations).
define('SHORTPIXEL_NO_BANNER', true);Hide the FastPixel banner on the Settings screen.
define('SHORTPIXEL_SILENT_MODE', true);Disables completely the notification system of the plugin. In other words, no notifications will be displayed anymore by the plugin, including important ones related to the plugin well functioning (such as conflicts with other plugins, credit-related notifications, etc.).
Example #